More about :
failed windows rollback
Thursday, 10 March 2016
How to Convert VHD to VDI or VDI to VHD file
reference website :http://cloudytech.blogspot.my/2012/10/how-to-convert-vhd-to-vdi-or-vdi-to-vhd.html

Wednesday, 9 March 2016
How to schedule a Batch File to run automatically in Windows 10 / 8 / 7
reference website: http://www.thewindowsclub.com/how-to-schedule-batch-file-run-automatically-windows-7
Step 3: Select Create Basic Task from the Action pane on the right of the window.
Step 6: Then click on Start a Program and click Next.
Step 7: Now click on Browser and select the batch file you like to run.
Then double click on the Task you just created.
Step 8: Click on Run with Highest privilege then click OK.
Congratulations! You have successfully created a Scheduled Task to automate a batch file.
How to schedule a Batch File to run automatically in Windows 10 / 8 / 7
There are occasions where you
might need to schedule to run a batch file automatically in your
Windows. In this article I’ll suggest a tip on how to schedule a batch
file automatically using Task Scheduler.
Schedule a Batch File to run automatically
Step 1: Create a batch file you wish to run and place it under a folder where you have enough permissions. For example under C drive.
Step 2: Click on Start and under search, type in Task and click open Task Scheduler.Step 3: Select Create Basic Task from the Action pane on the right of the window.
Step 4: Under Create Basic Task, type in the name you like and click Next.
Step 5: From the Trigger select the option you like and click Next.
I chose Daily and clicked Next, which brought me to this screen.Step 7: Now click on Browser and select the batch file you like to run.
Step 8: Finally, click on Finish to create the Task.
Now that we have created a Task,
we have to make sure it runs with the highest privilege. Since we have
UAC settings we have to make sure that when you run the file it should
not fail if it does not bypass the UAC settings.
So click on Task Scheduler Library.Then double click on the Task you just created.
Step 8: Click on Run with Highest privilege then click OK.
Congratulations! You have successfully created a Scheduled Task to automate a batch file.
Disk2VHD scheduled backup script
reference website: http://serverfault.com/questions/722718/disk2vhd-scheduled-backup-script REM
REM A simple backup system using disk2vhd
REM
REM version 1.3, by J.E.B., 2011-02-22
REM
REM requires 'disk2vhd.exe' to be in the path
REM
setLocal EnableDelayedExpansion
REM "DRIVES" can be one drive identifier with colon, multiple separated by spaces,
REM or asterisk for all.
REM "DEST" can be a drive letter or a UNC.
SET DRIVES="C:"
SET DEST="F:"
REM Keep most recent 4 VHD files in DEST, delete the rest
for /f "skip=4 tokens=* delims= " %%a in ('dir/b/o-d %DEST%\*.VHD') do (
del %DEST%\%%a
)
REM Backup to VHD
C:
cd \
DISK2VHD %DRIVES% %DEST%\%COMPUTERNAME%--%date:~-10,3%%date:~-7,2%%date:~-4,4%.VHD
EXIT /B nTuesday, 8 March 2016
How to: Rollback to a previous version of Windows from Windows 10
reference website https://techingiteasy.wordpress.com/2015/03/24/how-to-rollback-to-a-previous-version-of-windows-from-windows-10/
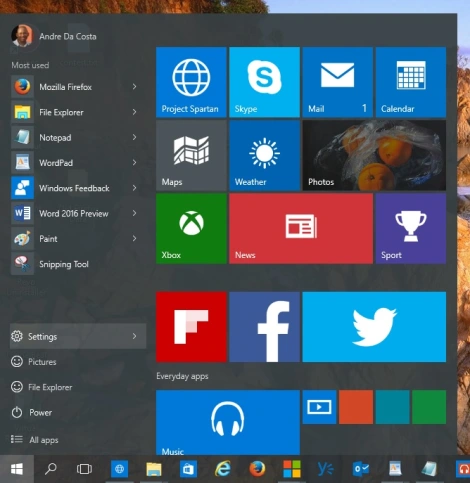
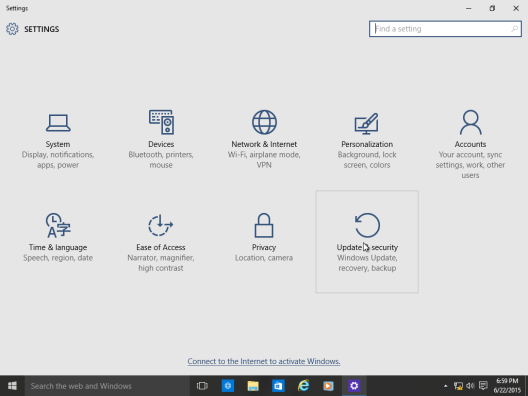
Start by opening Settings – Click Start > Settings or type Settings in the search bar and click it or press Windows key + i
Click Update and Security
Click Recovery then click Get started under Go back to Windows 7 or Windows 8/8.1 (depending on the previous version you running)
Here you can make multiple selections why are going back to your previous version of Windows along with additional details or you can choose just one and click Next.
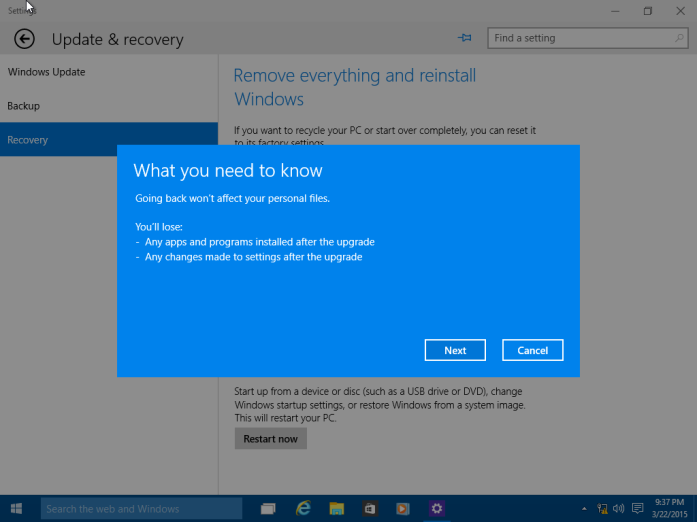
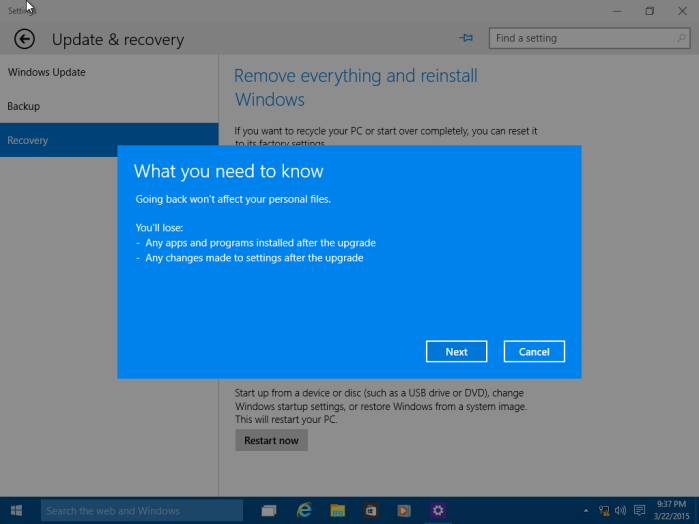
As noted, any configurations made to Windows 10 since upgrading will be lost, so if you installed new programs or hardware drivers or made personal settings, those will be deleted.
Click Next
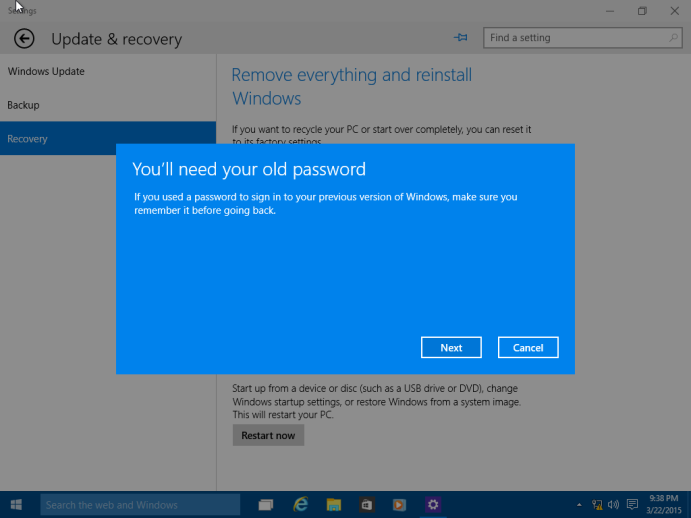
Make sure you have your password ready to sign into your old version if you had been using one. Click Next
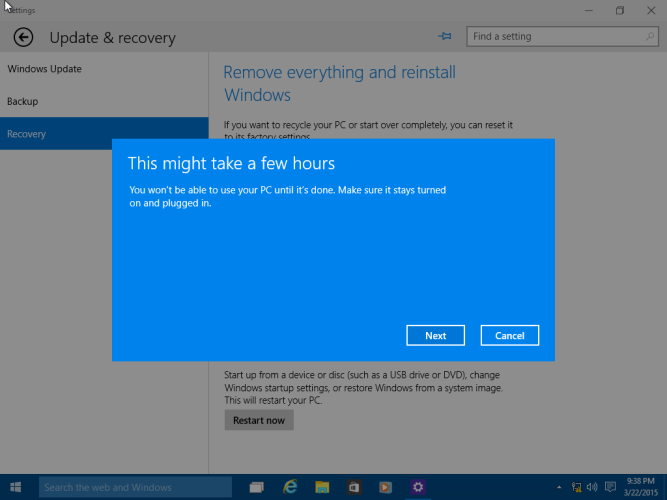
The process can take a while depending on the amount data, applications and settings. Click Next
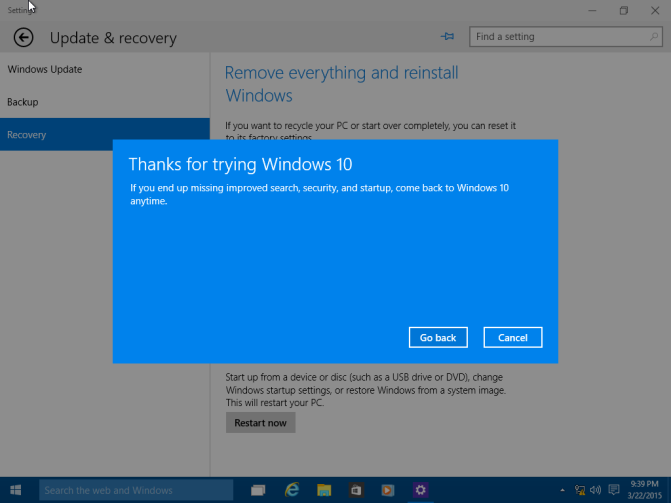
Click Go Back to begin the process.
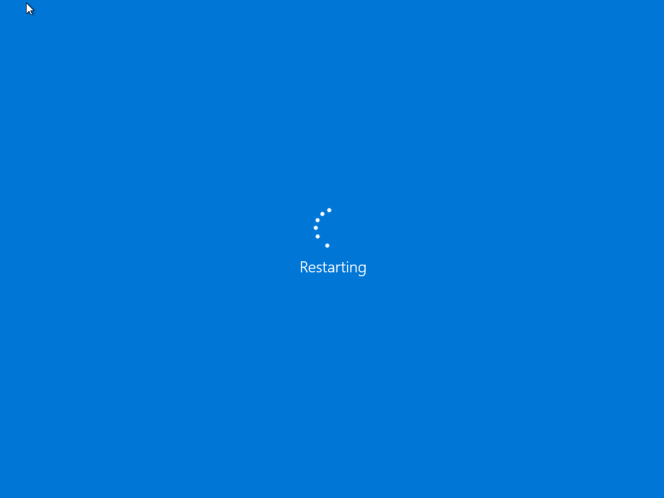
Windows 10 will Restart
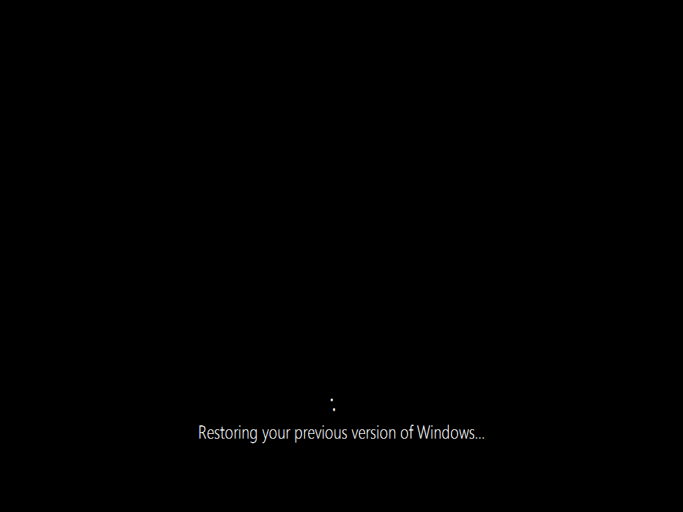
This will be your screen throughout the recovery process.
When the process is complete, you will be booted into your previous version of Windows environment.
If you cannot load the Windows Desktop, you can initiate a Rollback using the following method:
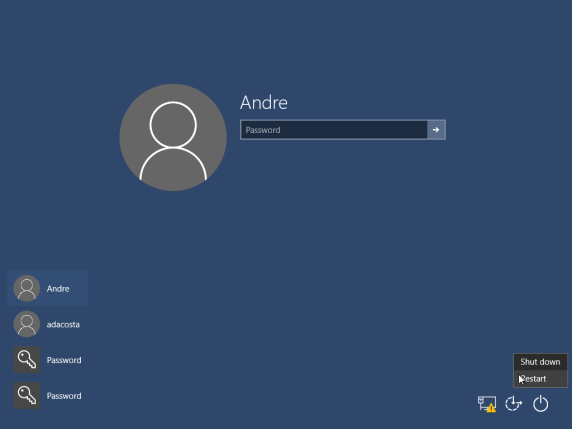
Log out and go to the sign in screen.
Hold down the shift key on your keyboard while clicking the Power button on the screen
Continue to hold down the shift key while clicking Restart
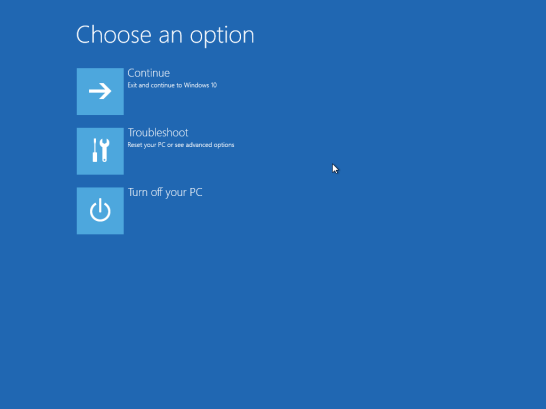
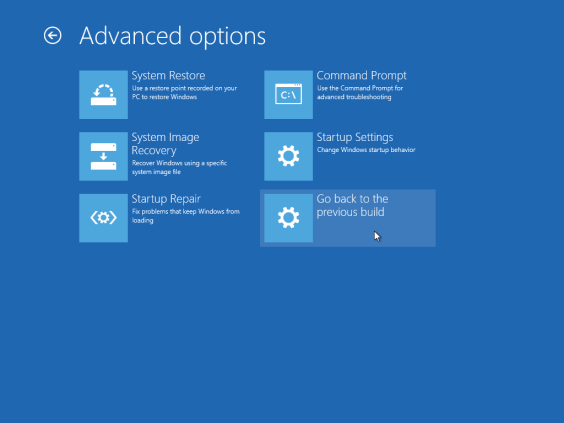
Continue to hold down the shift key until the Advanced Recovery Options menu appears
How to: Rollback to a previous version of Windows from Windows 10
NOTE: Please be aware the Windows.old folder located at the root of the local disk where Windows 10 is installed will be deleted after 30 days automatically. The Windows.old folder is used to facilitate the rollback. So please perform any rollback within 30 days or this option will no longer be available. Otherwise, create a backup before upgrading to Windows 10.
See links to resources about backing up by clicking the link for the respective version of Windows you are running: Windows XP, Windows Vista, Windows 7, Windows 8/8.1Summary
Throughout the history of Windows revisions, Microsoft has included
an option to uninstall the operating system when you upgrade to a newer
version. My recollection of this capability goes back to Windows ME
which included the option to uninstall the operating system and restore
to a previous version of Windows (I was running Windows 98 SE at the
time). Microsoft has supported this functionality in its NT based
versions of Windows too, albeit not in a seamless way. The ability to
restore a Windows 8.1 installation to Windows 7 required knowing some
command line operations that in some instances didn’t guarantee the
process would go according to plan. With Windows 10, it seems Microsoft
has listened and has provided a welcome option to its recovery tools to
make it easy to uninstall Windows 10 and go back to your previous
version of Windows. This option can be handy for diagnostics purposes,
trial and error or to simply go back to a previous version of Windows
that works better with your PC.
Please keep in mind, this only works with Windows 7 and later.
Because prior versions of Windows such as Windows Vista and Windows XP
can only migrate to Windows 10 through a custom install, the command
line operations remain your best choice if you do decide to go back.
Also keep in mind, if you do a custom install over Windows 7 or later,
the Rollback option is not available. This only works if you had done an
in place upgrade from Windows 7 or later.
Start by opening Settings – Click Start > Settings or type Settings in the search bar and click it or press Windows key + i
Click Update and Security
Click Recovery then click Get started under Go back to Windows 7 or Windows 8/8.1 (depending on the previous version you running)
Here you can make multiple selections why are going back to your previous version of Windows along with additional details or you can choose just one and click Next.
As noted, any configurations made to Windows 10 since upgrading will be lost, so if you installed new programs or hardware drivers or made personal settings, those will be deleted.
Click Next
Make sure you have your password ready to sign into your old version if you had been using one. Click Next
The process can take a while depending on the amount data, applications and settings. Click Next
Click Go Back to begin the process.
Windows 10 will Restart
This will be your screen throughout the recovery process.
When the process is complete, you will be booted into your previous version of Windows environment.
If you cannot load the Windows Desktop, you can initiate a Rollback using the following method:
Log out and go to the sign in screen.
Hold down the shift key on your keyboard while clicking the Power button on the screen
Continue to hold down the shift key while clicking Restart
Continue to hold down the shift key until the Advanced Recovery Options menu appears
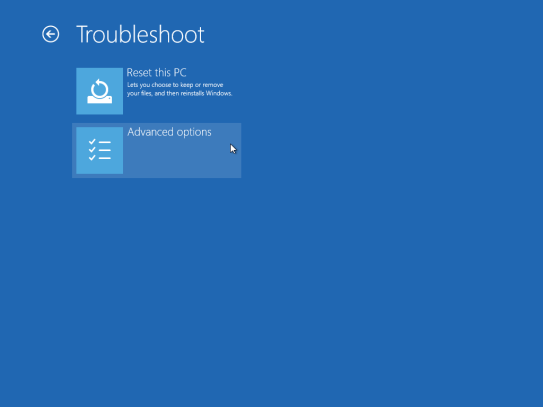
Click Troubleshoot
Click Advanced options
Click Go back to the previous version of Windows
Failed windows 10 rollback to 7 Forum
I go through this website
http://www.tomshardware.com/answers/id-2782431/failed-windows-rollback.html
http://www.tomshardware.com/answers/id-2782431/failed-windows-rollback.html
m
0
l
Ubrales advised you well, but if you want to try Win 10 again, do
it the same way. I hear a lot of complaints and bad vibes from people
trying to upgrade. I did a clean install (on 2 different machines) and
could not be happier. Burn a DVD or make a USB (better, faster). Get
it here:
https://www.microsoft.com/en-us/software-download/windo...
https://www.microsoft.com/en-us/software-download/windo...
Monday, 7 March 2016
WD Diagnostic Tool
Reference Website: http://support.wdc.com/downloads.aspx
Data Lifeguard Diagnostic Tool
This is a Windows version of the Data LifeGuard Diagnostics. It will test WD internal and external drives. In additional, it can provide you with the model and serial of WD drives attached to the system.
Data Lifeguard Diagnostic Tool
This is a Windows version of the Data LifeGuard Diagnostics. It will test WD internal and external drives. In additional, it can provide you with the model and serial of WD drives attached to the system.
Seatools Diagnostic Tool
reference website:http://www.seagate.com/as/en/support/downloads/seatools/

SD Card Formatter
Reference website:
https://www.sdcard.org/downloads/formatter_4/
SD Formatter 4.0 for SD/SDHC/SDXC
This software formats all SD memory cards, SDHC memory cards and SDXC memory cards. SD Formatter provides quick and easy access to the full capabilities of your SD, SDHC and SDXC memory cards.
The SD Formatter was created specifically for memory cards using the SD/SDHC/SDXC standards. It is strongly recommended to use the SD Formatter instead of formatting utilities provided with operating systems that format various types of storage media. Using generic formatting utilities may result in less than optimal performance for your memory cards.
The SD/SDHC/SDXC memory cards have a "Protected Area" on the card for the SD standard's security function. The SD Formatter does not format the "Protected Area". Please use appropriate application software or SD-compatible device that provides SD security function to format the "Protected Area" in the memory card.
Subscribe to:
Comments (Atom)
